
Introduction
Follow the steps enumerated below to install satco LED flush mount
Turn off the power.
- Shut off the power to the fixture.
- Shut off the power at the breaker box or fuse panel.
- Shut off the switch for your fixture in case you didn’t turn it off when you turned off your breaker or fuse.
- Turn off the switch and remove any bulbs that are in place, if you have any other lights installed in this room (don’t forget about under-cabinet lighting!).
Remove existing fixture.
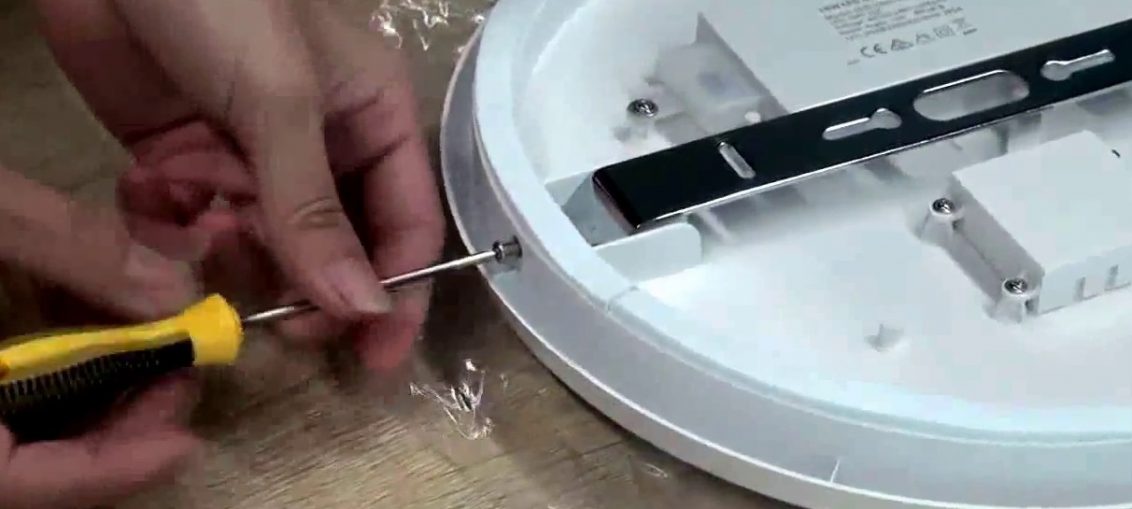
- Remove the screws holding the fixture in place.
- Remove the fixture from the ceiling by disconnecting it from its wiring and pulling it out of the mounting bracket or box where it’s affixed to your ceiling.
- Disconnect any wiring that is still attached to your old light bulb and remove it from the room completely so you can recycle or discard it safely (don’t just leave it lying around!)
Install bracket and wiring.
- Use a stud finder to locate your stud. This is where you’re going to screw in your light, so you want to make sure it’s secure and level.
- Once you’ve found the stud, use a level to make sure the bracket is straight and level with the wall. Mark where the holes should go with a pencil or pen.
- Use a drill bit that matches your bracket’s mounting holes (usually 1/8 inch) and drill them into place on both sides of the top piece of wood in each direction that needs one (if necessary).
- Use an Allen wrench (or other appropriate tool) to install those screws into their respective mounting holes in order for everything else to stay together securely; then proceed with installing any bulbs or glass covers as needed!
Reassemble fixture.
To reassemble the fixture, follow these steps:
- Attach the canopy and ballast wires to the wiring harness. The canopy will have three wires coming out of it (white, black, and green). The ballast will have four wires coming out of it (green/black, red/black and white/black). Connect these together using wire nuts. If you’re not sure what color wire goes where, check your instruction manual for a diagram showing how these wires should be connected.
- Reattach trim to light fixture if necessary. Some trim pieces may require more than one screw for them to attach securely back onto the light fixture body. Make sure all screws are snug so that your trim does not come off when you turn on your new LED Flush Mount!
- Turn on your new Satco LED Flush Mount! Stand back from where you expect it to shine after installation and enjoy its bright glow!
After all the wires are connected, you can attach the canopy to the wall and trim. Then turn on your light!
Conclusion
With just a few tools and a little time, you can install your own LED Flush Mount. The process is simple and requires no special skills or experience. Just follow the steps outlined above and enjoy the satisfaction of knowing that you did it yourself!